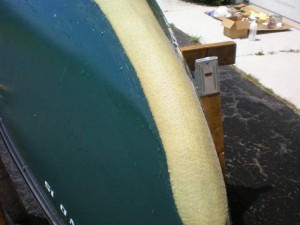
 I purchased my new canoe just in time for my trip to the Adirondacks, and it was a rugged three day canoe trip that left my canoe looking like it had been in hard use for a decade. Several weeks after the Adirondacks trip I nearly punched a hole through the bow of my new canoe on Antietam Creek. It was time to install a kevlar skid plate.
I’ve seen skid plates peel off after only a few uses, so I considered having this one professionally installed, but then decided that after all my years of paddling I really should know how to do this myself. And when I went online I discovered numerous techniques to install a skid plate, and although I tried to follow one technique I quickly discovered that I wasn’t entirely prepared, so my attempt ended up as learn as you go. But I must have done alright with the installation because it’s been three months and the plates are still holding fast with no signs of lift.
Here are the steps I took.
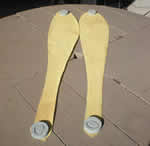 Step 1. Pre-stretching the patches. It may not sound important but I realized right away these patches are going to expand once I begin to form them to the hull, so the stretching allowed me to get a more accurate approximation of how much coverage the patch is going to provide. It helps to know the coverage so you can prepare the canoe surface accordingly. In the image I only used a few light weights to stretch the patches in a horizontal position for about two hours. I’ve heard that hanging the patches with a light weight attached is another approach, but no matter what approach you choose be sure to stretch them some way.
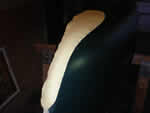 Step 2. Outlining the patch coverage area. While canoeing on Antietam Creek a few weeks earlier I hit a rock and punched a small hole in the bow of my canoe, so I wanted to cover the hole and reinforce the area around it with the patch. I also wanted to cover as much of the hull of the stern side because that is the part of stern that takes the most abuse, so outlining the coverage area with a heavy black marker allowed me to prepare the area and position the patch the way I wanted after it’s soaked with the resin.
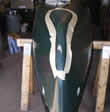 Step 3. Surface preparation. Once I outlined the patch coverage area I “lightly” sanded within the outline. I again wiped the area clean with rubbing alcohol and lightly touched up my original marker outline that I scuffed off during the sanding process. At this point you may want to consider taping off the area outside the patch coverage area to protect from resin drips but be sure to allow room for the patch to expand during the installation process. I didn’t allow enough for expansion and when my patch expanded over the tape and I had to stop the whole process and remove the tape.
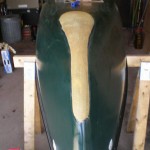 Step 4. Mix resin and placing the patch. This is where time is critical. My first thing was to mix the resin according to directions and spread about half of the mixture on a large flat piece of cardboard. And according to directions I placed the patch into the resin and worked the resin in until the patch was saturated; I then placed the patch into position and only lightly pressed it into position at this point. I applied the second patch to the resin then placed it into position and immediately went to work on the first patch I placed into position. Caution: I used too much resin on the first patch and was scraping every bit of residual I could find to saturate the second patch.
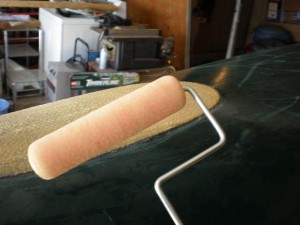 Step 5. Smoothing the patch. The tools I used were a 6 inch foam paint roller and a 4 inch plastic putty knife; the putty knife turned out to be the most useful. I began with the first patch I placed, smoothing it with the paint roller with motions beginning from the center to the outside edges, then did the same to the second patch.
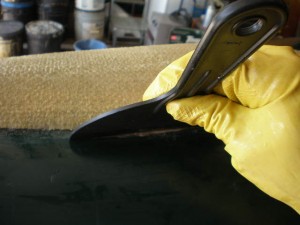
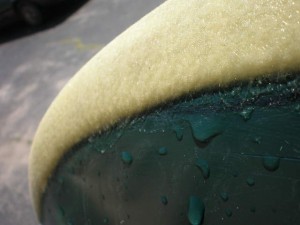 And this was not the one touch process like the directions indicated it would be. I needed to alternate my attention from patch to patch until I felt they fit the hull as tight and secure as possible. The paint roller was fine for the first round of smoothing but not for obtaining a tight seal. In this photo the patch needs to be smoothed and flattened and the rounded edges need to be feathered tight with the putty knife.
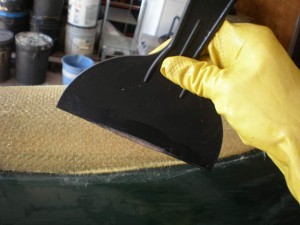 On the second round of smoothing I switched to the putty knife because I couldn’t apply enough pressure with the paint roller. I switched my attention to each patch twice and was ready to call it a finished project when I noticed the edges were still not entirely sealed. So again I alternated between each patch focusing on feathering the edges with the plastic putty knife as tightly as I could without squeezing the resin from the patch.


Darren-
Thanks for posting this. I’ve been considering it for some time on my Prospector but I think I’m going to let it go another season.
-James
I have a narrow solo kevlar canoe. What’s the best tool to cut the regular kevlar plates narrower? Kevlar must be tough!
And, is any particular type of marine epoxy preferred?